
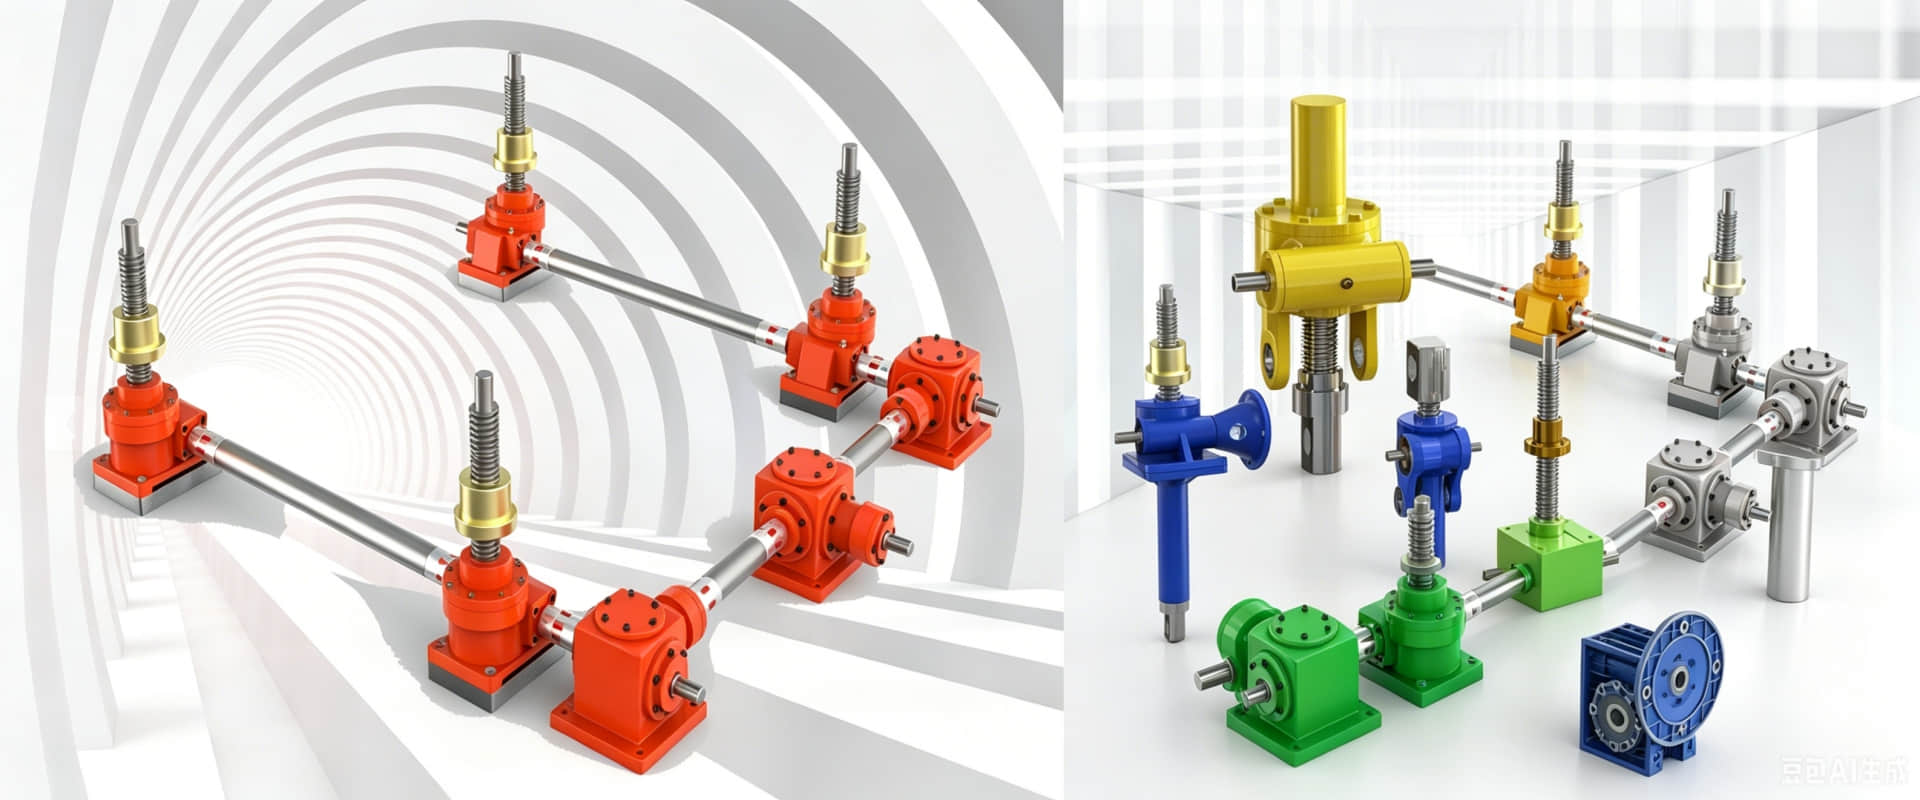
WP series worm gear reducer installation guide
WP Series Installation Guide – Best Practices
Proper installation of your WP series worm gear reducer ensures optimal performance, longevity,
and safety. Follow these best practices:
1. Pre-Installation Inspection
Check for visible damage or defects in the housing, worm, and gear set
Ensure all components are clean and free from debris
Verify the reducer was not damaged during transportation
2. Mounting the Reducer
●Install the reducer on a flat, rigid surface
●Use appropriate mounting bolts and tighten to specified torque
●Do not exert pressure on output parts or the box during installation
●For base-mounted models, securely fix to concrete foundation or steel frame using anchor bolts
3. Shaft Alignment
●Accurate alignment is critical – use precision alignment tools
●Verify coaxiality and perpendicularity between machinery and reducer
●Misalignment causes increased noise, vibration, and premature wear
●When connecting motor to reducer, ensure concentricity of the two shafts
4. Lubrication Before Startup
●Apply a light coat of grease to the worm shaft input hole and key-way to ease installation and prevent
rust
●Ensure sufficient lubricating oil is kept in the housing
5. Final Verification
●Confirm rotation direction is correct before full operation
●Perform intermittent operation initially to verify proper function
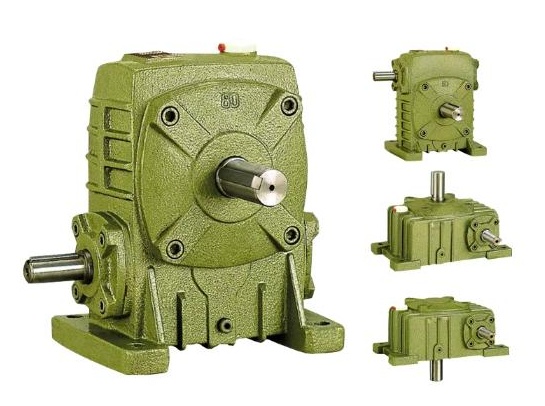
Related article: WP series cast iron industrial transmission gearbox installation guide