How to Properly Change Gear Reducer Oil – A Step-by-Step Guide for First-Time Users
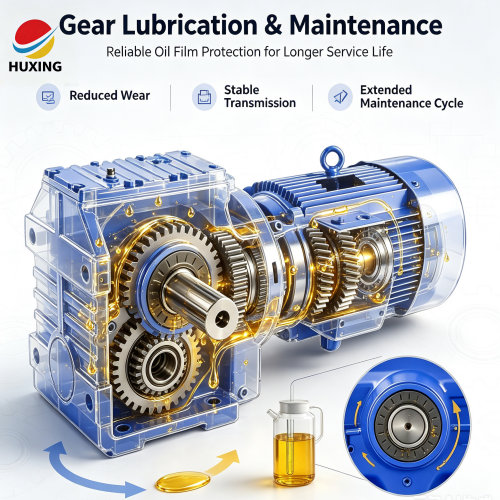
Regular oil changes are essential to keep your gear reducer running smoothly and extend its service life. Follow this simple guide for a safe and effective oil change.S series gearbox oil quantity
Step 1: Preparation
Safety First: Turn off and lock out the power supply to prevent accidental startup.
Warm Up: Allow the reducer to run briefly until the housing is warm to the touch (40–50°C). Warm oil flows more easily for complete drainage. Never change oil when the unit is cold or dangerously hot.
Gather Tools: You will need appropriate wrenches, a drain pan, a funnel, clean rags, and the correct new oil as specified on the reducer’s nameplate
Step 2: Drain the Old Oil
Place the drain pan under the oil drain plug.
Remove the breather cap (top) and oil level plug (side) to allow air in, then unscrew the drain plug (bottom) and let all the old oil flow out completely.
Inspect the drain plug’s sealing washer and replace it if damaged to prevent future leaks. Clean any metal filings from the plug before reinstalling it.
Step 3: Refill with New Oil
Securely reinstall the drain plug.
Using a funnel, fill the reducer with the recommended type and grade of new oil through the fill port. Never mix different brands or types of oil.
Fill until the oil reaches the correct level as indicated on the oil level plug or dipstick. The correct amount varies by model and mounting position
Step 4: Final Checks
Reinstall the oil level plug and breather cap.
Run the reducer briefly, then stop and recheck the oil level, topping up if necessary
Pro Tip: For a new reducer, change the oil after the initial 100–200 hour “running-in” period. For regular service, follow the manufacturer’s recommended intervals (typically every 3–6 months or 2,500–5,000 operating hours)